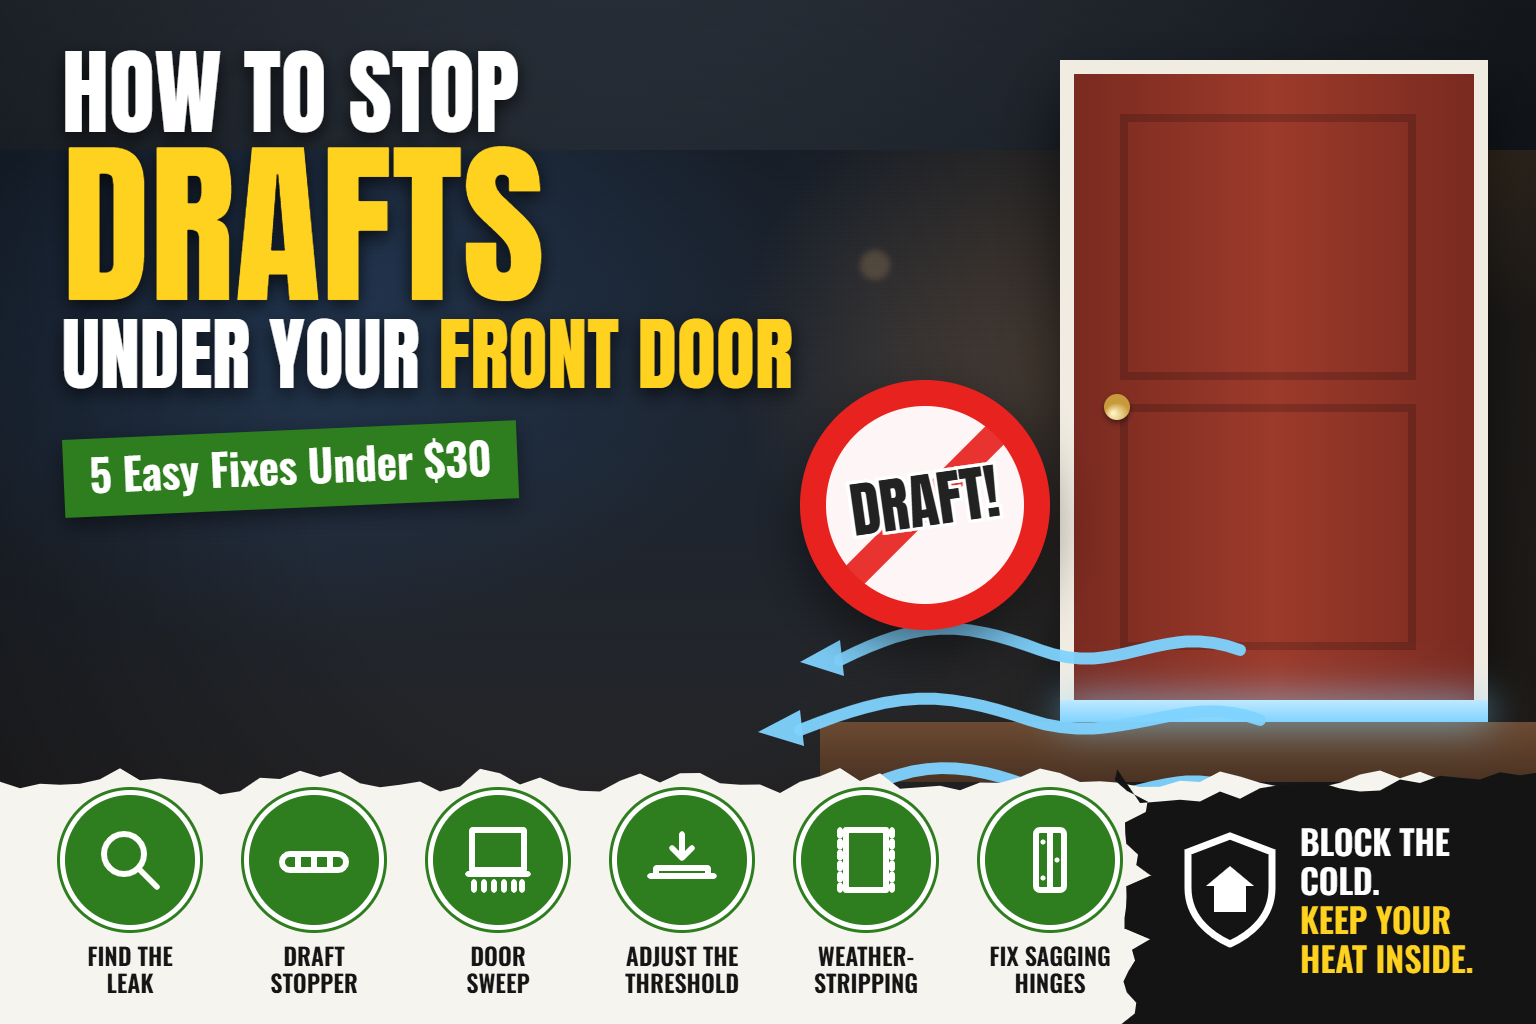
How to Stop Drafts Under Your Front Door: 5 Easy Fixes Under $30
Heads up: this post contains affiliate links. If you buy through them, Home Addressed may earn a commission at no extra cost to you.
Put your hand down by the bottom of your front door on a cold night. Feel that? That’s your heater’s hard work sliding out under the door while winter slides in.
A draft under the front door is one of the most common (and most fixable) comfort problems in a house. You can usually stop it in an afternoon for under $30, and you don’t need to be handy. Start with the quick test, then pick the fix that matches what you find.
First, find out where the air is getting in
Don’t buy anything yet. Do this on a cold, windy evening with the lights off inside and the porch light on.
Look at the bottom of the closed door. If you can see porch light along the floor, you’ve got a gap under the door. Next, look up the sides and across the top. Light there means your weatherstripping is worn or missing.
Then try the dollar bill test. Close the door on a bill at the bottom, the sides, and the top. If it slides out easily, that spot isn’t sealing. Still not sure? Hold a lit incense stick near the edges and watch which way the smoke blows.
Most front door drafts come from one of three places: the gap between the door and the threshold, worn weatherstripping around the frame, or a threshold that’s set too low. Here’s how to fix each one, from easiest to most involved.
Fix 1: Lay down a draft stopper (5 minutes, no tools)
If you rent, or just want the draft gone tonight, start here. A draft stopper is basically a long fabric tube you lay against the bottom of the door. The double-sided kind slides onto the door itself, with one tube inside and one outside, so it moves with the door when you open it.
Double-sided door draft stoppers cost about $10 to $20 and you can cut most of them to fit. Honestly? It’s not the prettiest fix, and the cheap foam ones get squished over time. But it works, it leaves no marks, and your landlord will never know.
Fix 2: Install a door sweep (20 minutes, a drill)
This is the fix I’d go with for most homeowners. A door sweep is a strip of metal or vinyl with a rubber or brush edge that attaches to the bottom of the door and closes the gap against the threshold.
You’ve got a few styles. Screw-on sweeps mount to the inside face of the door and are the easiest to adjust. Stick-on adhesive sweeps need no drilling, but they peel off faster, especially on a door that gets a lot of sun. U-shaped sweeps slide onto the bottom edge and seal both sides, but you usually have to take the door off its hinges to put one on.
For a screw-on sweep, close the door and hold the sweep against the inside bottom edge. Slide it down until the rubber just touches the threshold. You want light contact, not so much that the door drags. Mark the screw holes, drill small pilot holes, and screw it in. If your sweep has slotted holes, you can adjust it later as the rubber wears.
Aluminum screw-on door sweeps hold up way better than the all-vinyl ones. If your floor is uneven or you’ve got tile right inside the door, a brush-style sweep handles bumps better than a rubber blade.
Fix 3: Adjust or replace the threshold
Look closely at your threshold (the strip on the floor under the door). A lot of exterior door thresholds have a row of screws along the top. Those raise and lower the threshold. Turn them counterclockwise a little at a time and the threshold rises to meet the door. Do the dollar bill test again after each adjustment. Stop when the door closes smoothly with a light seal.
If the threshold has a rubber insert down the middle and it’s cracked, flattened, or missing chunks, you can usually pull the old one out and press in a new one. Take the old piece with you (or measure it carefully) so you match the shape. A cracked or rotted wood threshold is a bigger job, and that’s when I’d call a handyman unless you’ve done it before.
Fix 4: Replace the weatherstripping around the frame
If you saw light along the sides or top of the door, the bottom isn’t your only problem. Most modern doors use foam-filled weatherstripping that presses into a slot in the frame. Over time it flattens, tears, or pulls loose.
Pull a corner of the old strip and it usually comes right out. Clean the slot, then press the new strip in with your thumb, working from the top corner down each side. For older doors without a slot, self-adhesive foam tape or a V-strip works fine. Clean the surface with rubbing alcohol first so it actually sticks.
Door weatherstripping kits run about $15 to $30 and usually cover the sides and top of a standard door.
Fix 5: Check the door itself
Sometimes a perfect sweep and fresh weatherstripping still leave a gap, because the door doesn’t sit right in the frame. Sagging hinges are the usual culprit. If the top corner on the latch side rubs while the bottom has a big gap, tighten the hinge screws. If they just spin, swap the middle screw in the top hinge for a 3-inch screw that bites into the wall stud. That alone pulls a lot of doors back into line.
And if the strike plate (the metal plate the latch goes into) sits too far out, the door won’t pull tight against the weatherstripping. Many strike plates have a little tab you can bend in with a screwdriver to make the door close snugger.
Which fix should you pick?
Renting or need it done tonight: a draft stopper. Own the place and see light under the door: a screw-on sweep, plus a quick check of the threshold screws. Light around the sides: new weatherstripping too. Most people end up doing two of these, and the whole job still costs less than a takeout dinner.
Once the front door’s sealed, check the door to your garage and any back or patio doors the same way. They leak just as much, and nobody ever looks at them. While you’re thinking about cold-weather prep, our post on home maintenance that’s quietly costing you money has a few more cheap wins.
FAQ
What’s the best way to stop a draft under a door?
For most homeowners, a screw-on door sweep is the best permanent fix. It closes the gap between the door and the threshold and lasts for years. If you rent or want something with no tools, a double-sided draft stopper that slides onto the door works well.
How do I know if my door needs a new sweep or new weatherstripping?
Turn the inside lights off on a dark night with the porch light on. Light showing under the door means you need a sweep or a threshold adjustment. Light along the sides or top means the weatherstripping is worn.
Can I stop a door draft without drilling?
Yes. A double-sided draft stopper or a self-adhesive door sweep both go on without tools. Adhesive sweeps don’t last as long as screw-on ones, so expect to replace them sooner.
Why does my front door have a gap at the bottom?
The most common reasons are a worn or missing door sweep, a threshold that’s set too low, or a door sagging on its hinges. Many thresholds have adjustment screws on top that raise them to close the gap.
Will stopping drafts lower my heating bill?
Sealing air leaks around doors and windows helps your heating and cooling system work less, so you’ll usually feel a warmer house and see some savings. How much depends on how leaky the door was and how cold it gets where you live.
How much does it cost to stop a door draft?
Draft stoppers and door sweeps typically cost $10 to $25. A full weatherstripping kit runs about $15 to $30. You can usually seal a front door completely for under $50 if you do it yourself.
Disclosure: Home Addressed may earn a commission if you buy through links on this page, at no extra cost to you. See our affiliate disclosure.